Disassembly process:
1: remove large threaded plug from casting (labeled 'T' in cut
away drawing)
2: remove pin 25103-a and the cotter pin that holds it from
25772-b "splash washer"
3: remove cassel nut and cotter pin from the end of "shifter
rod" ( U in cut away drawing)
4: unscrew nut 25806-A off the shifter rod
"Brake clutch" part 25769-B is now loose but can't come out of the
assembly and nut 25806-A will be loose inside the "brake clutch". At
this point if there was a way to pull on the "Clutch Ring Plate
28269-C" it would come apart, however this is no way to get a hold of
it. So step 5 is to get the clutch ring plate a little ways separated
from the pulley so that a wheel puller can get a hold of the edge of
the ring plate.
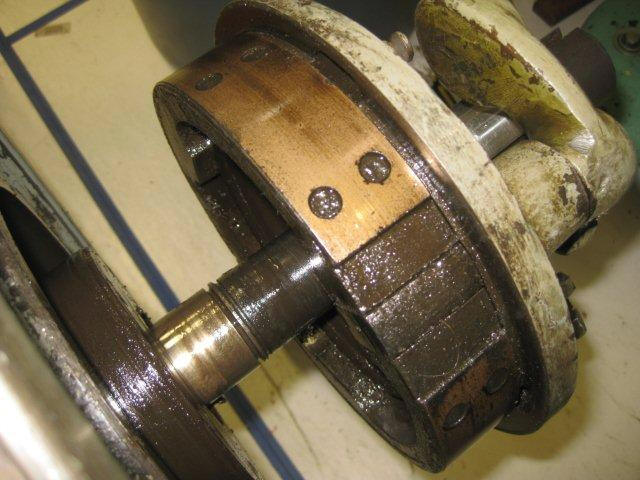
5: Using a brass punch and heavy hammer hit on the end of
Pulley Shaft 28004-C (on the end in the gear box). Be careful to place
the punch over or on the side of nut 25806-A so that you can hit the
end of the shaft. Pics below show what happens. The clutch plate will
start to separate from the pulley but mine wouldn't separate more than
.200". I kept hitting and then the shaft began coming out of the press
fit of the clutch ring plate. If the clutch plate and pulley separate
at lease .200" it will be far enough for step 6.
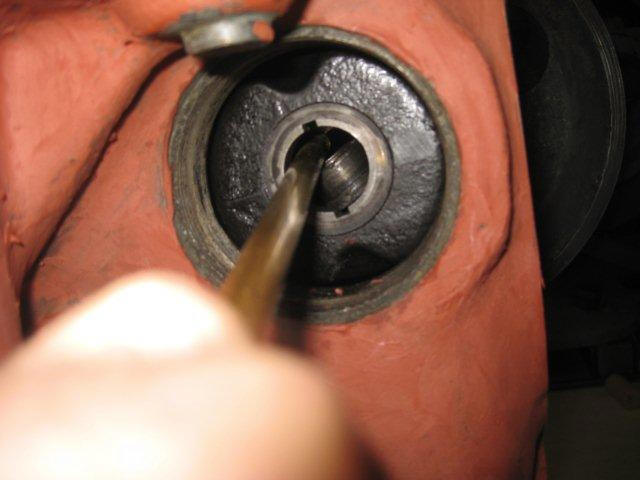
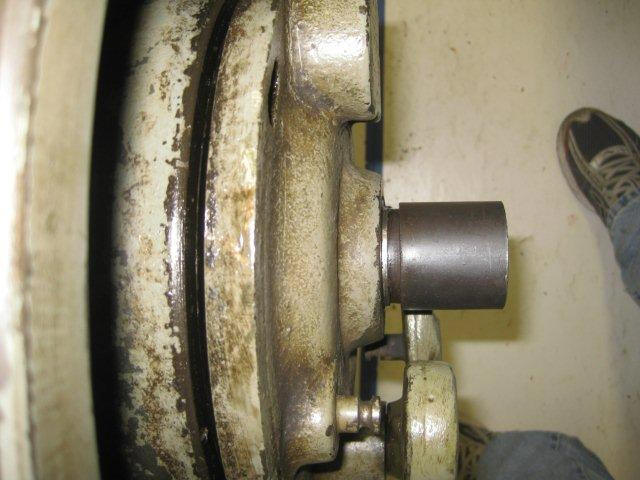
I kept on hitting and the clutch didn't move any further but the shaft
came out. I could have quit hitting as the pulley shaft does not need
to come out of the clutch plate to go to the next step

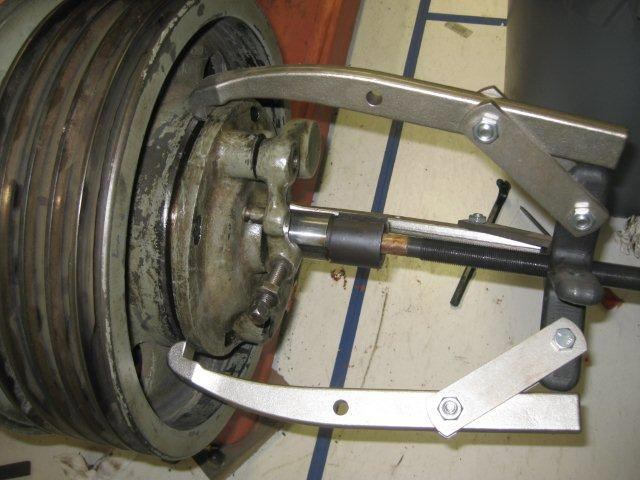
6: Next I used a metal bar 11/16" dia x 32" long with a center
drilled hole at one end. Screw the large metal plug back into the
casting that was removed in step 1. (this will be used to push
against) Insert the metal bar through the pulley shaft 28004-C. Now
use the end of this shaft to set the center of a wheel puller on and
grab a hold of the edge of the clutch ring with the wheel puller
fingers.. and start pulling.
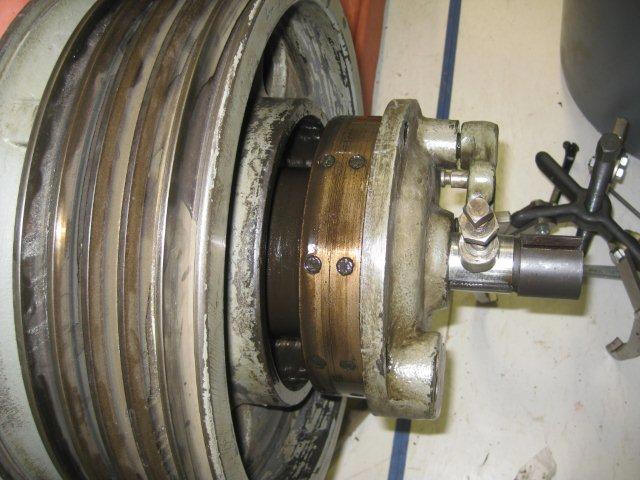
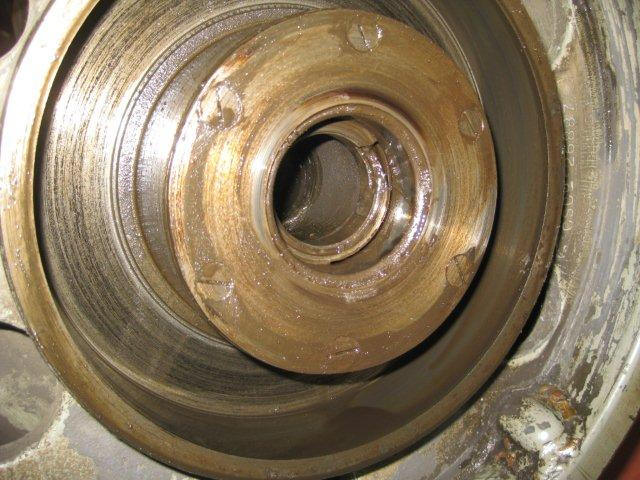
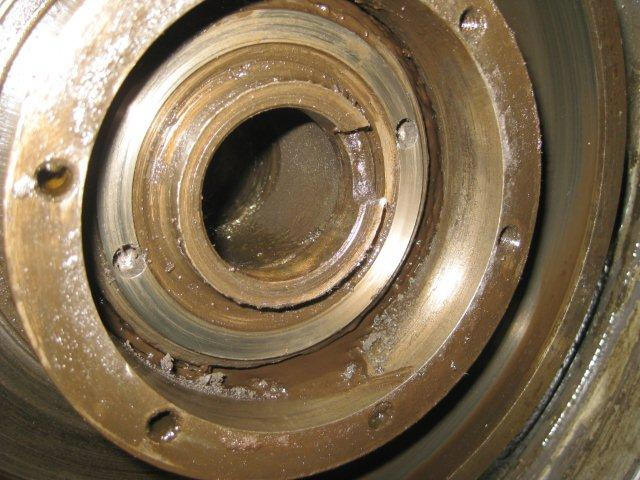
7: Removed plate 25819-A by removing the six flat head screws
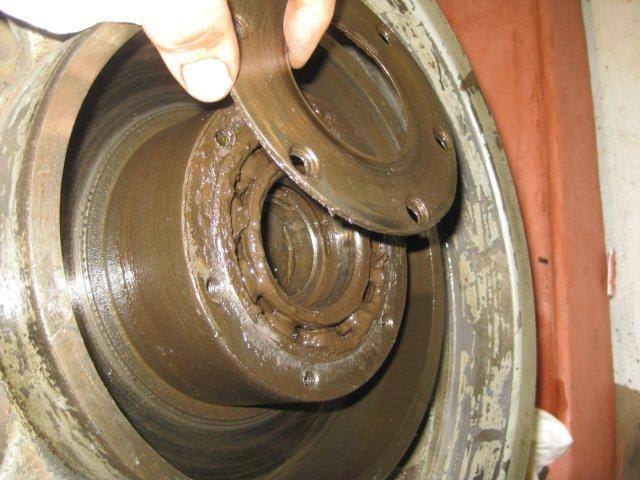
8: Now use a screw driver to pry bearing 26742-A out.
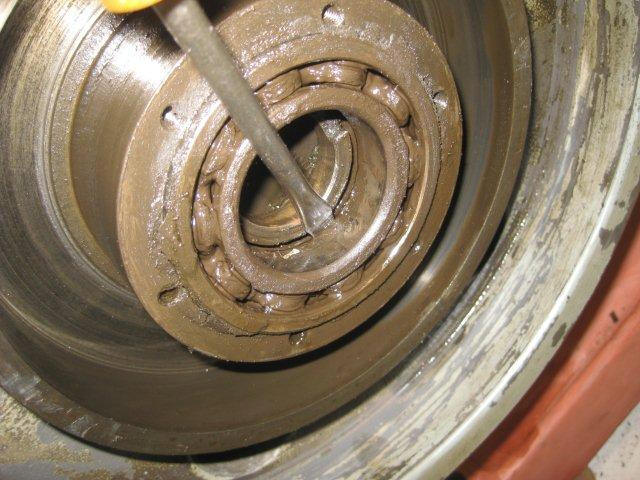
Then unscrew nut 26740-A (You'll need to hold up the end of the spring
nut lock 25827-A to unscrew the nut).
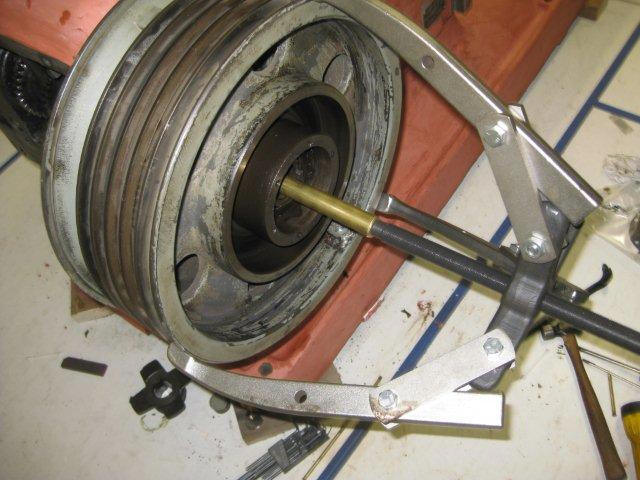
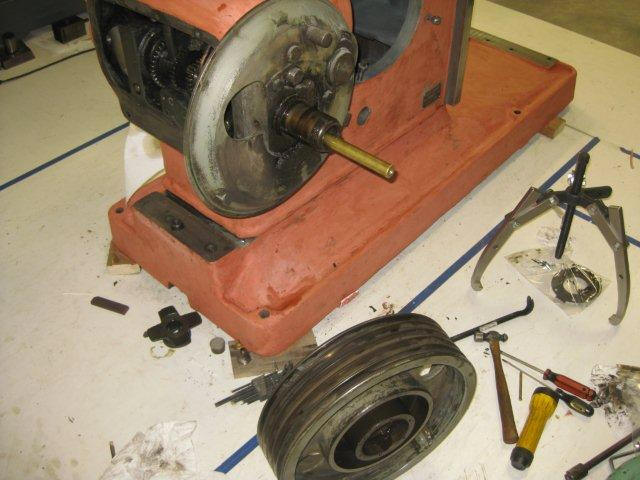
9: Now I installed a 7/8" x 25" brass rod through the gears and used
it to push against to pull the pulley off.
Monarch Lathe Restoring
Cincinnati #3 Vertical Mill Restoring
Cincinnati
24" Shaper Restoring
